Edit Segment Properties
To edit the properties of a Segment:
-
Select Members from the top navigation bar, then select Segments from the side navigation menu. The Segments screen is displayed.
-
Search for and select the desired Segment (see
-
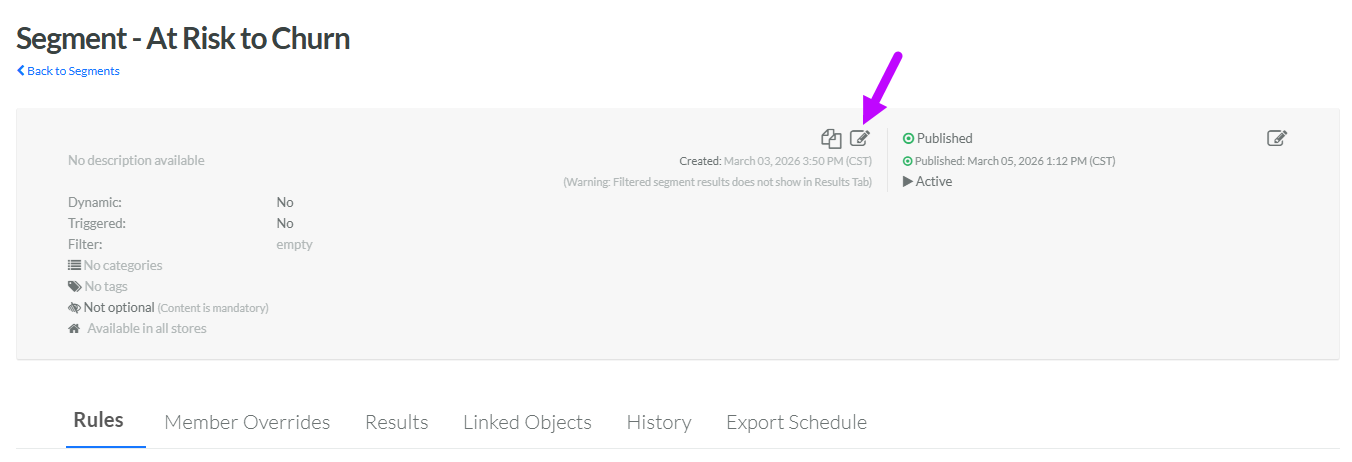
Within the header area of the screen, click the Edit icon. The Edit Segment pop-up window is displayed.
-
In the Display Name field, optionally change the name of the Segment.
-
The Internal Name is automatically populated based on the Display Name value. This field is not editable by default. To edit the Internal Name, check Edit Internal Name. A confirmation dialog box is displayed; click Ok. Edit the Internal Name value.
-
Optionally, in the Description field, enter a description of this item.
-
To modify the Execution Type, check Edit Execution Type. A confirmation dialog box is displayed; click Ok. Select the desired Execution Type: EDP, Golden Record, or External. For more information on these Execution Types and their supported use cases, see
-
For EDP Segments only, the platform supports three authoring modes for how you define the Segment Rules. Optionally, to modify the authoring mode, check Edit Authoring Mode. A confirmation dialog box is displayed; click Ok. Select the desired authoring mode:
-
Simple: Build the Segment logic via a user-friendly interface.
-
Advanced: Define the Segment logic via a query.
-
Traditional: Build the Segment logic using Loyalty's standard "condition builder" user interface.
-
-
For Golden Record Segments only, check Dynamic if you need the Segment to immediately add or remove individuals, whenever their Attributes or Activity history changes. Every API call will cause the platform to re-evaluate the individual referenced in the API, and determine their inclusion in this Segment. This option should be used carefully, as it can have an impact on system load and performance. Leave this option unchecked (referred to as a Static segment) if the Segment needs to be evaluated only when the marketer manually refreshes the Segment, or when the system performs batch processing, such as a Message deployment or a Scheduled Job.
Note: The Dynamic feature for Segments is resource-heavy, and having multiple Dynamic Segments could impact the overall performance of your program. Please speak with your Zeta team to discuss possible alternative solutions to using Dynamic Segments.
-
For Golden Record Segments only, check Triggered to automatically refresh the Segment when any Member Activity of any type is recorded. For performance reasons, if you set a Segment to Triggered, the best practice recommendation is to also define a Filter (see below).
-
Optionally, check Holdout Group to enable a Holdout Group for this Segment. Note that this option is not supported in Golden Record Segments if you selected either Dynamic or Triggered above. For more information on this feature, see
-
For Golden Record Segments only, optionally enter a Groovy expression in the Filter field. A Filter allows you to refresh a Triggered Segment only when a specific Activity type occurs, rather than any Activity type. Filters must be written as an expression; please speak with your Zeta team for assistance writing expressions.
-
By default, EDP Segments can not be used to determine the eligibility of other Loyalty assets, such as Offers or Rewards. For EDP Segments only, optionally check Use as Golden Record if you want to use this Segment to determine the eligibility of other Loyalty assets.
-
If the Business Unit feature is enabled in your Loyalty account, a Segment is always assigned to a Business Unit (or to "all Business Units"). By default, a newly created Segment is assigned to your currently selected Business Unit context (displayed in the top-right corner of every screen). Optionally, to assign this Segment to a different Business Unit, select it from the Business Unit drop-down menu. This menu is populated with all the Business Units to which you have been assigned. To instead assign the Segment to all Business Units, delete the selected option from this drop-down menu so that the menu is blank.
-
Segment Categories are used to organize Segments, often for controlling what Segments get used in your website or app. From the Segment Categories drop-down menu, optionally select one or more Segment Categories to assign to this Segment.
-
Tags are used to help search, filter, and organize objects within the platform. To reuse an existing Tag, begin typing all or part of the Tag name in the Tags field, and select it. You can also type in a new Tag value.
-
Optionally, if Location Store Marketing has been enabled in your account, select one or more Store Tags from the Stores drop-down menu. Location Store Marketing is an optional feature; please speak to your Zeta team for more details on this feature.
-
Click Save.